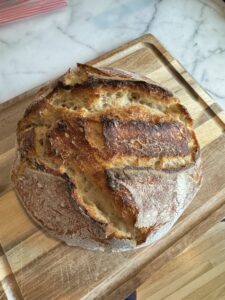
This no-knead homemade sourdough recipe has become our go-to for baking our own artisan-quality bread at home with minimal effort. While it sounds fancy, making sourdough bread at home doesn’t have to be complicated! If you’ve been hesitant to try sourdough, this recipe is the perfect place to start.
Why Choose No-Knead Homemade Sourdough?
No-knead sourdough simplifies the bread-making process. Unlike traditional methods, there’s no need for vigorous mixing or kneading. Instead, time and gentle folding do all the work, creating a dough that rises beautifully and develops a delicious, tangy flavor. This method is beginner-friendly, requires minimal equipment, and results in bakery-quality bread.
Recipe: No-Knead Homemade Sourdough
Ingredients
- 125 grams of sourdough starter
- 310 grams of mineral water
- 2 teaspoons of salt
- 500 grams of flour (can be a mix of flours: wheat, white, rye, etc.)
Instructions
- Combine the starter, water, and salt in a large bowl. Stir until fully mixed.
- Add the flour and mix until the dough comes together. The dough will look crumbly at this stage–that’s okay.
- Cover the bowl with a damp towel and let the dough rest for one hour.
- After one hour, fold the dough four times. Wait 20 minutes and repeat. Do this two more times.
- Cover the dough with a damp cloth again and leave it on the counter for six hours, or until it doubles in size.
- Dust a workspace with flour. Fold the dough four times and shape it into a round.
- Place the dough in a floured bowl lined with a clean kitchen towel (we like to proof our dough in wooden bowls–more on that later).
- Cover and refrigerate for a minimum of 12 hours, and a maximum of 72 hours.
To Bake:
- Place a cast iron Dutch oven in the oven and heat to 500°F (260°C).
- Meanwhile, remove the dough from the fridge and let it sit on the counter for one hour.
- Flip the dough onto parchment paper and make a small cut on top with a sharp knife.
- Place the dough and parchment paper into the Dutch oven. Cover and bake for 20 minutes.
- Lower the oven temperature to 450°F (230°C). Remove the lid and bake for another 20 minutes.
- Let the bread cool on a rack before slicing.
The Benefits of Proofing in Wooden Bowls
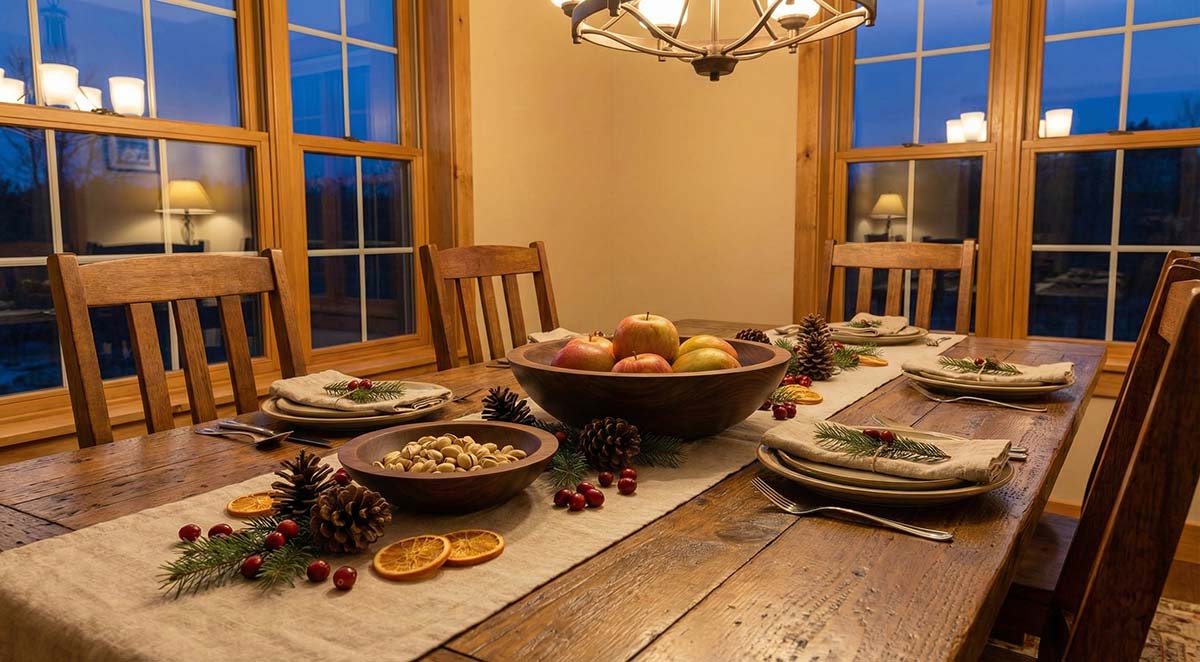
Wooden bowls aren’t just beautiful—they’re practical for bread making and a great option for proofing your dough. Wood retains consistent moisture levels, which helps the dough maintain a soft texture during proofing. It also insulates the dough, keeping it at an even temperature while it rises. Unlike metal or plastic, wood’s natural surface prevents the dough from sticking, especially when dusted with flour.
For sourdough enthusiasts, proofing in a wooden bowl enhances the artisanal bread-making experience. For the perfect proofing bowl, check out our full collection of handcrafted wooden bowls. At Spencer Peterman, we work exclusively with locally and sustainably sourced wood, and only finish our bowls with 100% natural, food-safe finishes, so our bowls are both beautiful and practical.
Tips for the Perfect No-Knead Homemade Sourdough Loaf
- Use a mature sourdough starter for the best flavor and rise.
- Allow the dough to rest long enough to double in size during proofing.
- Practice patience—long fermentation times enhance sourdough’s flavor.
Why You’ll Love No-Knead Sourdough
This no-knead homemade sourdough recipe takes the stress out of baking. With minimal hands-on time, you can create a flavorful loaf with a crispy crust and tender crumb.
So, grab your wooden bowl, dust off some flour, and enjoy the magic of sourdough baking at home!


